17 December, 2014

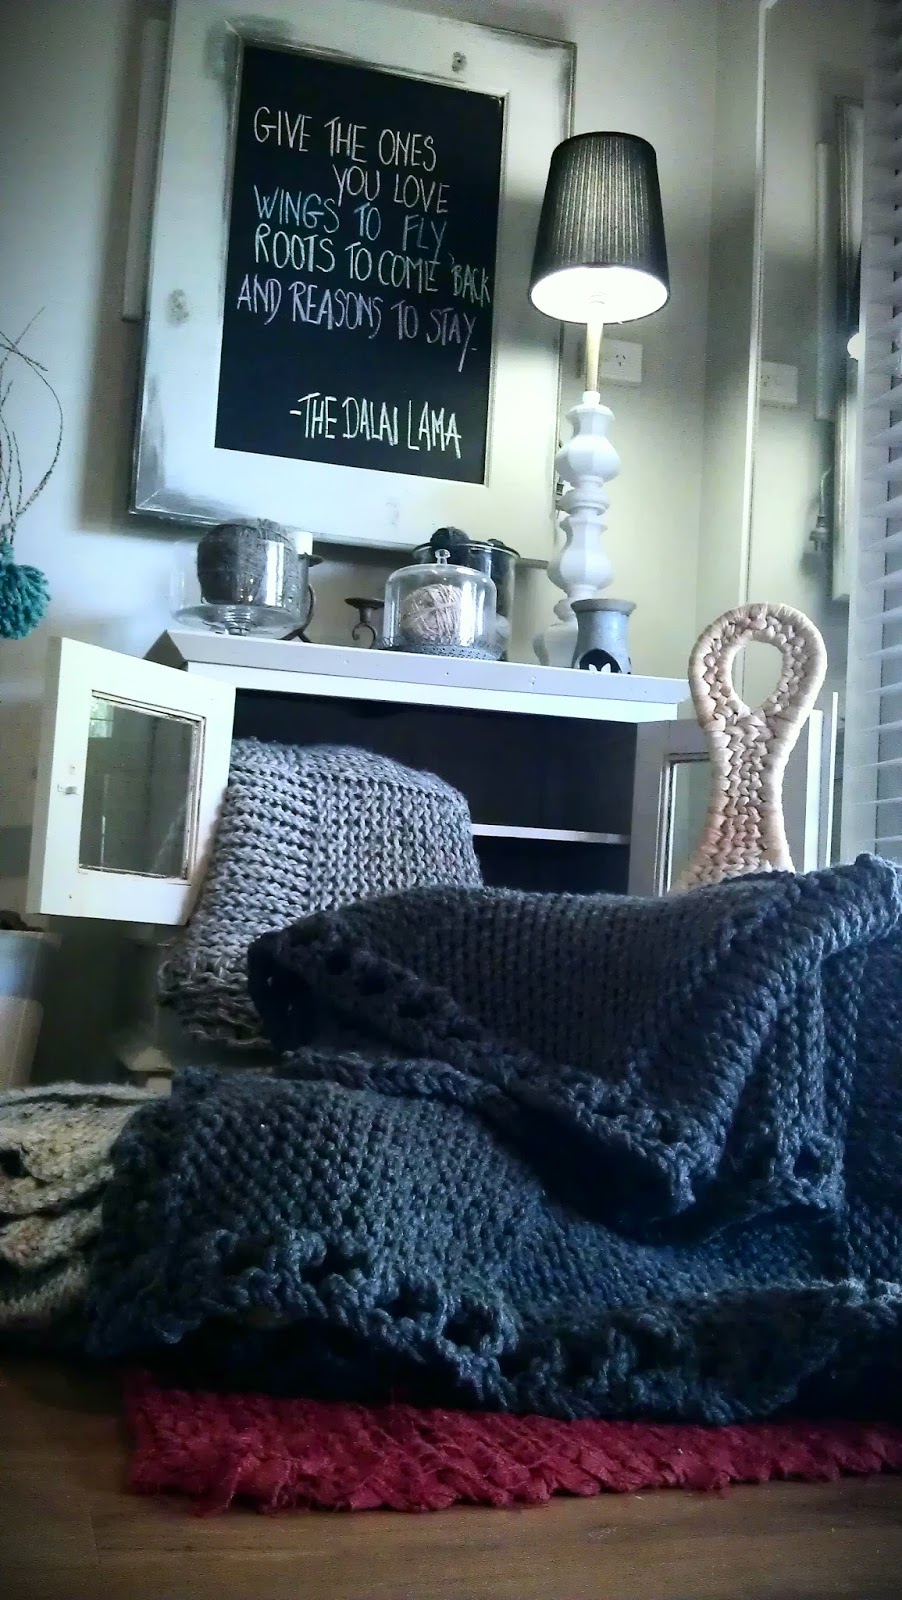
Giant cable lounge room throw

This hand kitted loungeroom throw is done in giant cables using 20mm knitting needles. It is very heavy, as all of my giant knit throws; this one weighs 3.6 kg. When spread out, the pattern really stands out and as such it makes it into a gorgeous addition to any loungeroom or bedroom. I choose to make my throws using 100% acrylic which is very easy to maintain. The throws can be easily washed without having to worry whether the throw will lose its shape or shrink in size.


06 September, 2014

He - Bunny for little boys

This is a one weekend project - hand knitted bunny, pattern I found in Family Circle Easy Knitting Magazine, Fall '99. You can check out here my version of a She-Bunny, absolutely adored by my daughter Garcelle. Now her little twin brother has his own bunny to show off, He-Bunny. It was so much fun to knit; the garments are the most fun to make as you can play with different types of wool as well as stitching patterns.


The new bunny is settling quite well in our home; blending in with some of the natural décor elements... or  


happy to lounge around... not too long before kids get here and get a snuggle!

09 May, 2014

Crocheted Lounge Room Floor Rug

Designed for the Industrial Cart Coffee Tables that love the freedom of movement!
The chunky stitches of the floor rug are ideal for securing the wheels in place making the coffee table stationary for everyday use. Made using 100% Indian Cotton.


04 May, 2014

Hooded Snood in the cable knit with an upholstered giant button

I found this pattern on Deramores website and I simply fell in love it... So I ordered a pattern and the wool and here comes the most beautiful hooded snood. Winter is slowly creeping up here in Australia and this lovely hooded snood has been already out keeping my neck nice and warm. Because I love big buttons I slightly changed the design and instead of 3 smaller buttons, here you can see one giant size button upholstered in dark grey Indian cotton.


18 September, 2013

Hand knitted lounge room throw in 'Sage'

Finally here!!! The super chunky throw in sage in now finished. It is knitted with beautiful wool, ordered from England; 25 % wool and 75% acrylic - 110 cm by 160 cm. It is wonderful to snuggle up with... It weights 4.5 kg so it is heavy and very warm.... The weight of this throw coupled with the twisted garter pattern and the beautiful colour of sage, would make it a luxury item in any lounge room. I hope you like it!


25 August, 2013

Chunky Knitted Throw in Knit & Purl squares

This adorable lounge room throw was a custom order. Knitted out of British finest yarn, this throw weights 2.8 kg, is 140 cm wide and 170 cm long. Is very soft and supper comfortable to snuggle up with. It is 20% wool and 80% acrylic, washable and easy to maintain. The dark grey colour is very neutral and will go well with any colour in the lounge room.


11 August, 2013

How to convert an old window frame into a chalk board....

This is my new chalk board that serves for the sharing of inspirational quotes,
 but also looks very decorative on any wall in our house! 

Believe it or not, this used to be an old window frame, now converted into a very decorative and useful piece of art that will stand out on any wall in your home. In this post I am sharing with you the step by step process of how to make a board like this by yourself in your spare time. I hope you try it and enjoy the final product.


STEP 1:
Dust off the old window frame.


STEP 2:
Lay it flat on a surface and do a gentle sanding down, covering the whole frame area.


STEP 3:
Just to make sure that the paint will stick to wood well, apply primer first - this will bond the top coat of paint really well with the wood. Allow 2 hours to dry.


STEP 4:
In order to get the old french provincial look, you can apply a darker colour to the edges of the frame - for this you may want to choose dark grey, black or dark brown. Paint is applied scarcely and whilst wet, you can use a cotton cloth to rub it into the wood. We are after that natural look - aiming away from perfection.
Allow an hour to two to dry.


STEP 5:
Now you can measure the size of the window and get the piece of ply-board in that exact size from your local Bunnings or Masters store. Cut the plywood to the exact dimensions. Once you have your ply-board, we can now prepare it for chalk paint. Just like with the frame, we start off by applying the primer, this will make sure that our chalk paint sticks well. Allow 2 hours to dry.


STEP 6:
Now you are ready to apply the black chalk paint. You will need to apply the chalk paint twice, waiting 2 hours in between the coats.


STEP 7:
Meanwhile, we apply the desired colour on our window frame - I used off white colour. We go over the whole frame, even the darker painted corners. As you are painting away, you would use a cloth to rub off some of the colour to show the darker coat underneath that we applied around the edges of the frame. Depending on how it looks, you may want to re-apply the darker colour around the corners and keep rubbing it into the wood until you get the desired effect.  Leave overnight to dry.


STEP 8:
Now we are ready to take the glass out of the window frame and fix the newly painted black chalkboard into the frame. Use a staple gun to secure it into the frame.


STEP 9:
You may want to use a hammer to secure any staples that are stubborn and don't want to go all the way in.


STEP 10:
The last thing we have to do is add the cord at the back of the frame so that we can hang it onto the wall. I have used the staple gun for the cord as well, leaving it secure and strong enough to hang onto the wall.

Your Decorative Black Board is Now Ready to Be Used!
Be creative and change your message as often as you like....

GREAT IN THE HALLWAY


I was hoping to make this a useful tutorial, so please let me know if you find it useful and if I missed anything in the instructions.

HAPPY CREATIONS!!!
Related Posts Plugin for WordPress, Blogger...